


Tying a birch branch broom is a process that can be accomplished by following a few simple steps. Here are step-by-step instructions on how to properly tie a birch broom:
Step 1: Prepare the materials
Gather fresh birch branches. Choose branches with flexible and sturdy twigs so they won't break when tied. Make sure the branches are flexible enough to be woven into a wreath.
Step 2: Trimming the branches
Carefully trim the branches to the same length to create an even broom. A good length of branches is approximately 30 to 40 centimeters.
Step 3: Tying the branches together
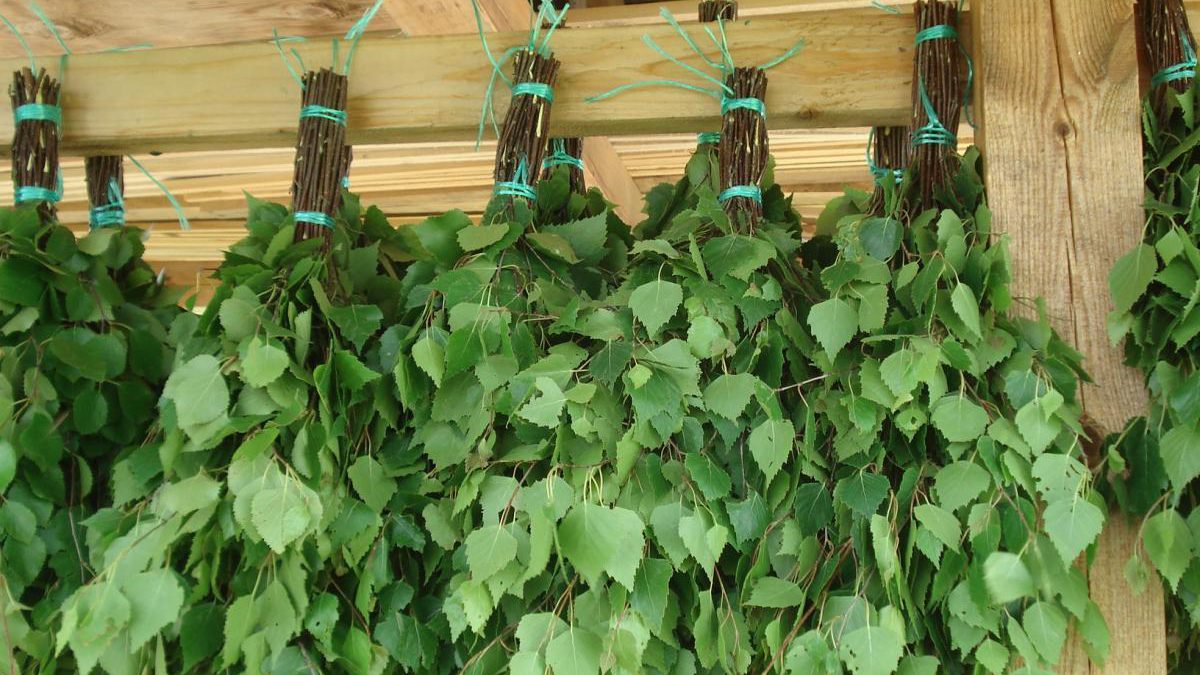
Take a few branches and start tying them together. Place the ends of the branches parallel and cross them to create the base of the broom. Then tie the branches tightly together using string, rope or ribbon. Wrap the binding material around the branches several times and tie a knot to secure.
Gather fresh birch branches. Choose branches with flexible and sturdy twigs so they won't break when tied. Make sure the branches are flexible enough to be woven into a wreath.
Step 2: Trimming the branches
Carefully trim the branches to the same length to create an even broom. A good length of branches is approximately 30 to 40 centimeters.
Step 3: Tying the branches together
Take a few branches and start tying them together. Place the ends of the branches parallel and cross them to create the base of the broom. Then tie the branches tightly together using string, rope or ribbon. Wrap the binding material around the branches several times and tie a knot to secure.
Step 4: Adding additional branches
As you progress, add additional branches to the base of the broom. Insert the ends of the new branches between the already tied branches and tie them to the broom base. Continue this process until the broom reaches the desired size and density.
Step 5: Finishing the broom
When the broom has reached the desired size, tie the ends of the branches with string, rope or ribbon to secure all the branches in place. Make sure all the ties are strong and secure.
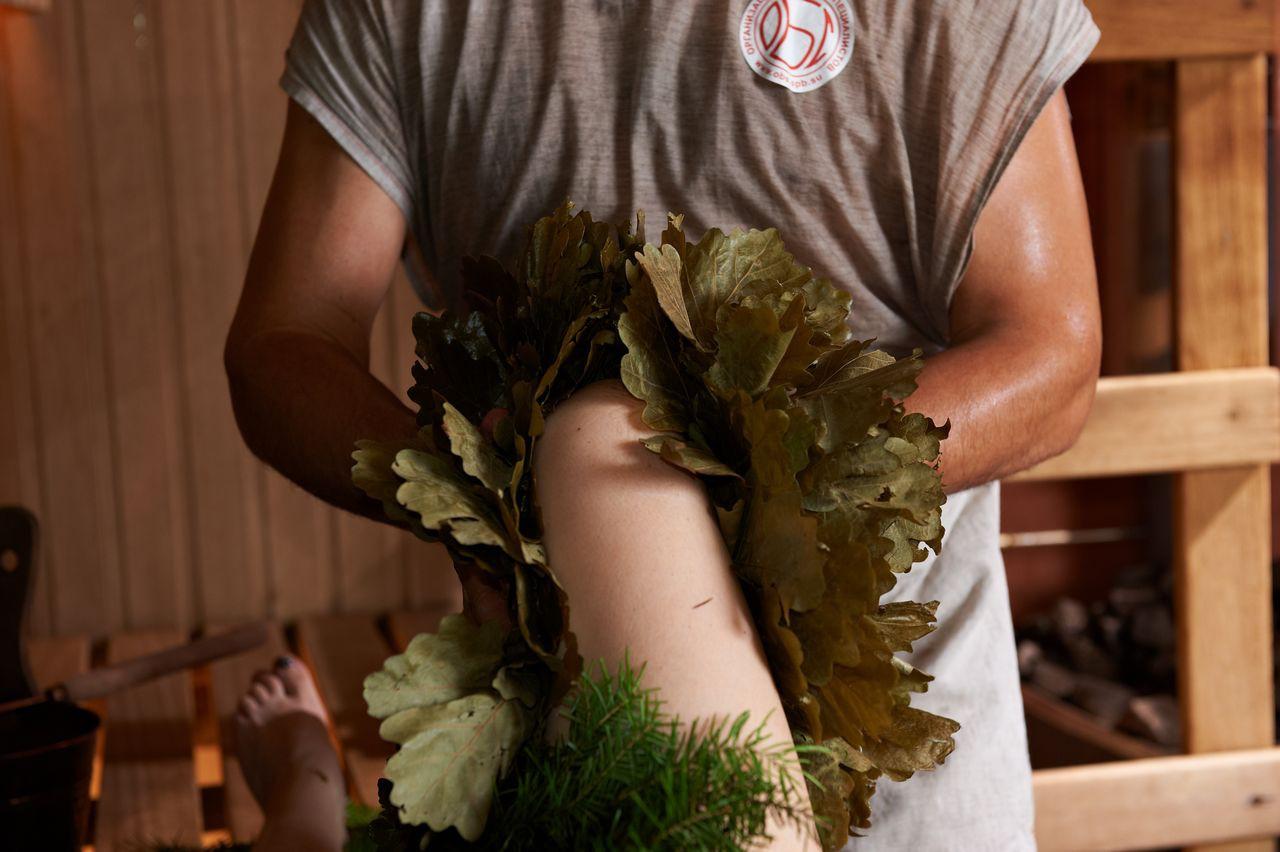
Once you have finished tying the broom, check the strength of the broom and make sure all the branches are firmly tied together. Now your birch broom is ready to be used. You can use it for wellness, aromatherapy or decorative purposes.
As you progress, add additional branches to the base of the broom. Insert the ends of the new branches between the already tied branches and tie them to the broom base. Continue this process until the broom reaches the desired size and density.
Step 5: Finishing the broom
When the broom has reached the desired size, tie the ends of the branches with string, rope or ribbon to secure all the branches in place. Make sure all the ties are strong and secure.
Once you have finished tying the broom, check the strength of the broom and make sure all the branches are firmly tied together. Now your birch broom is ready to be used. You can use it for wellness, aromatherapy or decorative purposes.


